5 Creative DIY Projects Using Polythene Sheets in the UAE
March 22nd 2024
Polythene sheets are a DIY enthusiast's best friend in the UAE. Durable, waterproof, and readily available, these sheets are perfect for projects ranging from plant protection to creative crafts.
With the arrival of top e-commerce like FEPY offering premium polythene sheets in a convenient delivery option, getting your hands on these versatile materials is easier than ever.
Here are five creative DIY projects you can make with polythene sheets.
1. DIY Greenhouse Project Using Polythene Sheets
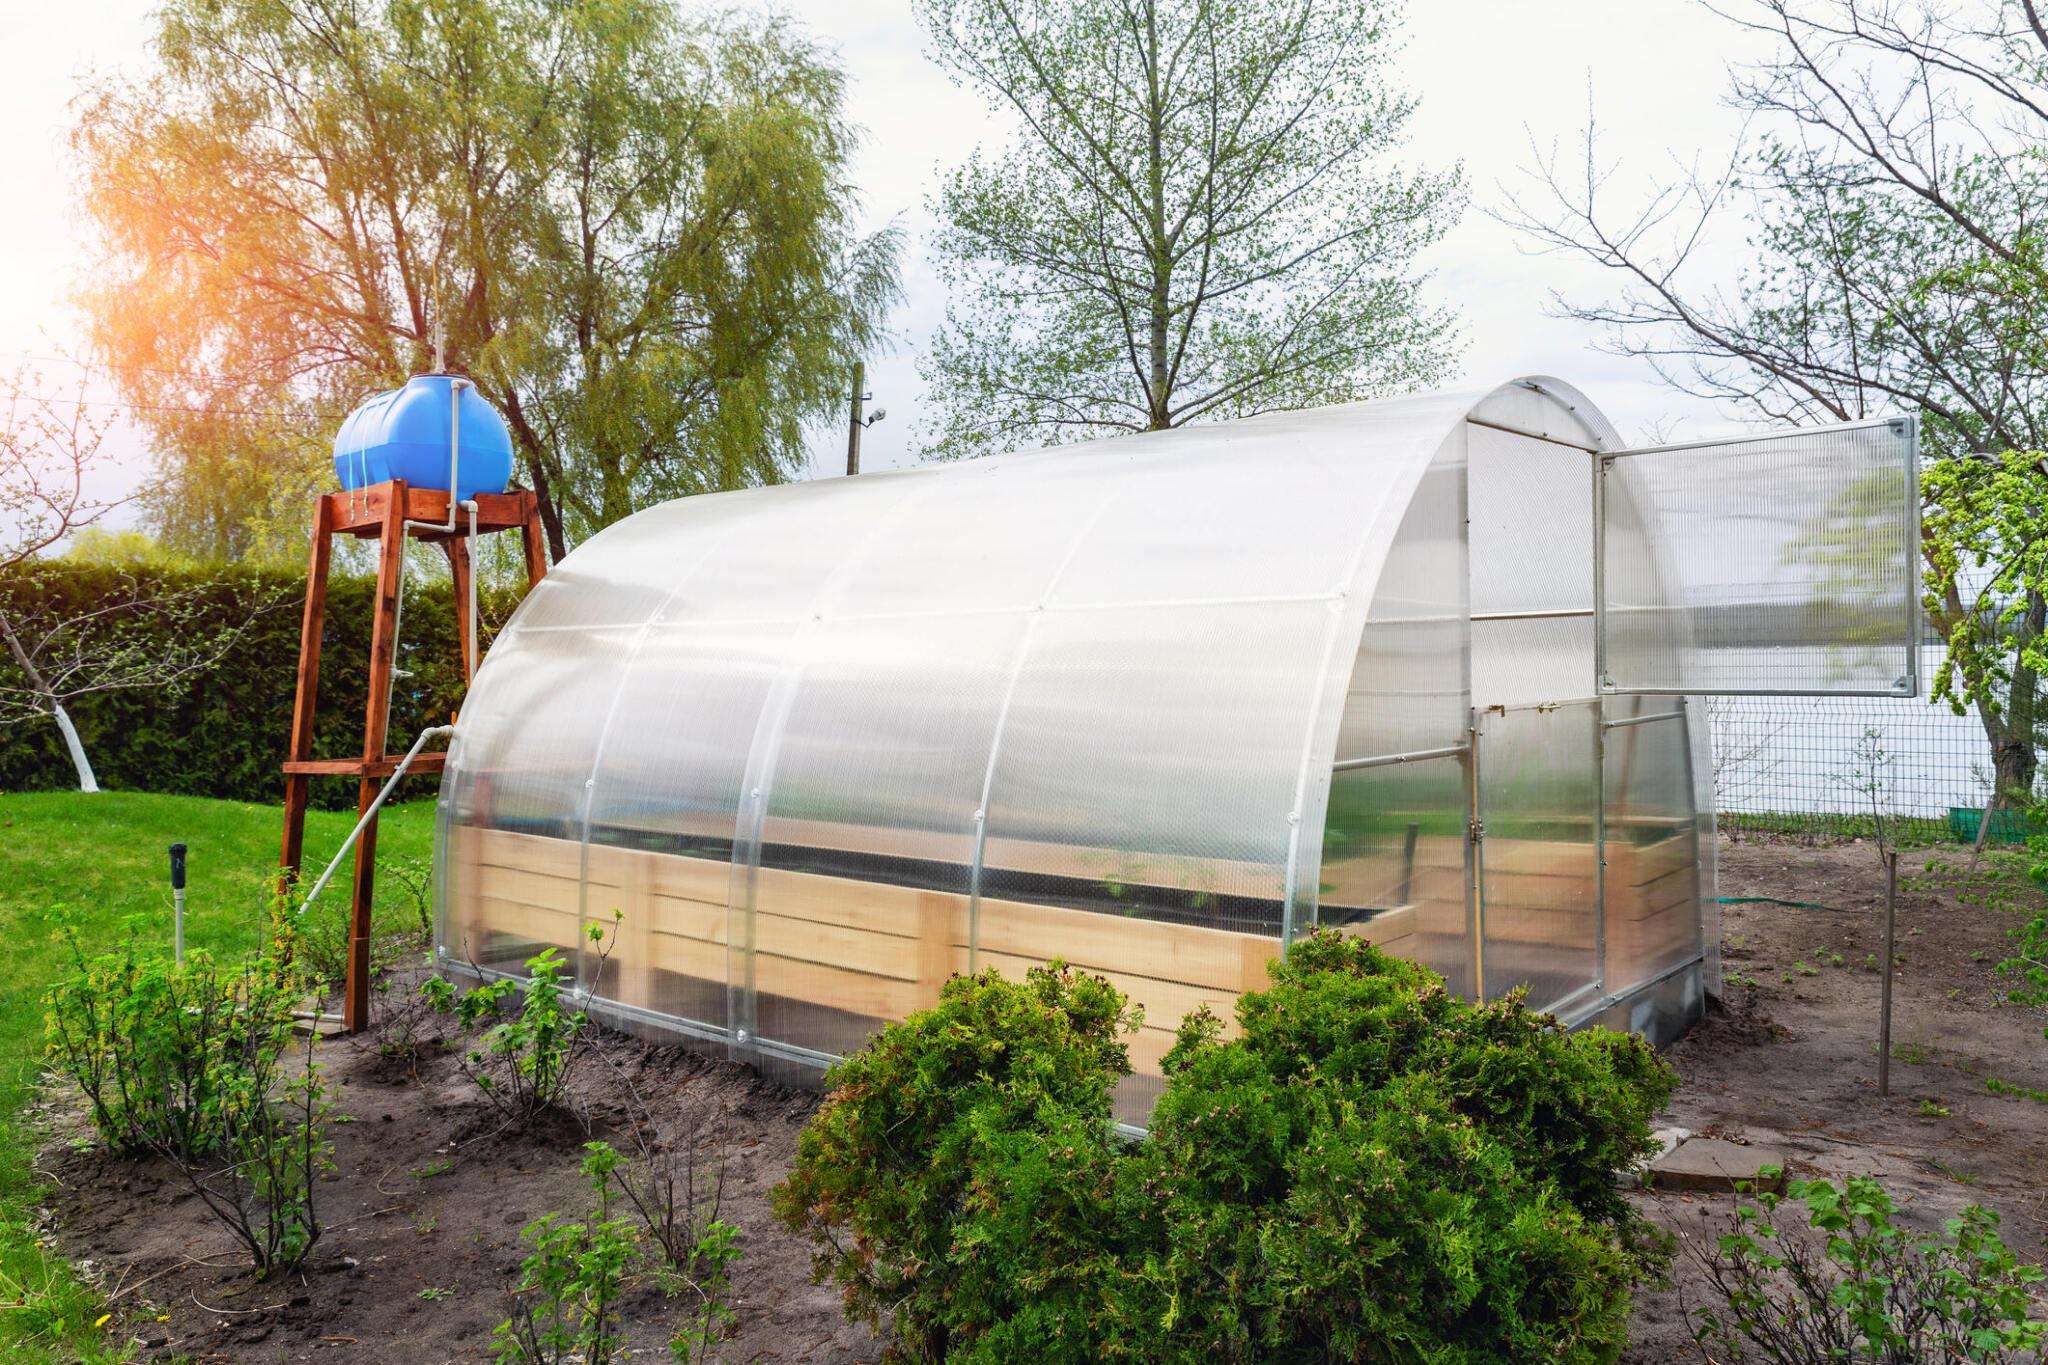
Ready to provide your garden plants with year-round shelter, even in the UAE's unpredictable weather? The best option is to build a greenhouse yourself. You can create a sunlit, cosy home for your potted plants with just a few supplies and polythene sheets.
Materials
- Wooden battens or planks (upcycle pallets for an eco-friendly touch!)
- Screws
- Polyethylene sheeting (choose a thickness of 0.15-0.20mm for durability)
- Pins or a staple gun
- Hinges (for optional opening doors and roof)
Tools
- Saw
- Screwdriver (or drill)
- Measuring tape
Step-By-Step Process
- Choose Your Spot: Ideally, choose a south-facing wall for maximum warmth. Consider prevailing winds and aim for a low profile to minimise wind resistance.
- Build the Frame: Measure and cut wood to create a simple house-shaped frame. Remember to include space for shelves to house your plants. Assemble securely with screws.
- Cover it Up: Cut your polythene sheets to size, carefully fitting them to each frame section. Secure them tightly with pins or staples, leaving no gaps for drafts.
- Add Your Doors: Attach at least one door using hinges for easy plant access. For extra ventilation, consider making the roof panels openable, too!
- Welcome Your Plants: Arrange your potted plants on the shelves and bask in the glow of your new balcony oasis!
Tips:
- In the UAE's intense sun, consider providing shade for your greenhouse during the hottest hours to prevent overheating.
- Monitor the greenhouse's internal temperature and humidity. Opening doors for ventilation can help regulate conditions.
- Opt for a sturdier wood or metal frame for larger or more permanent greenhouses in the garden.
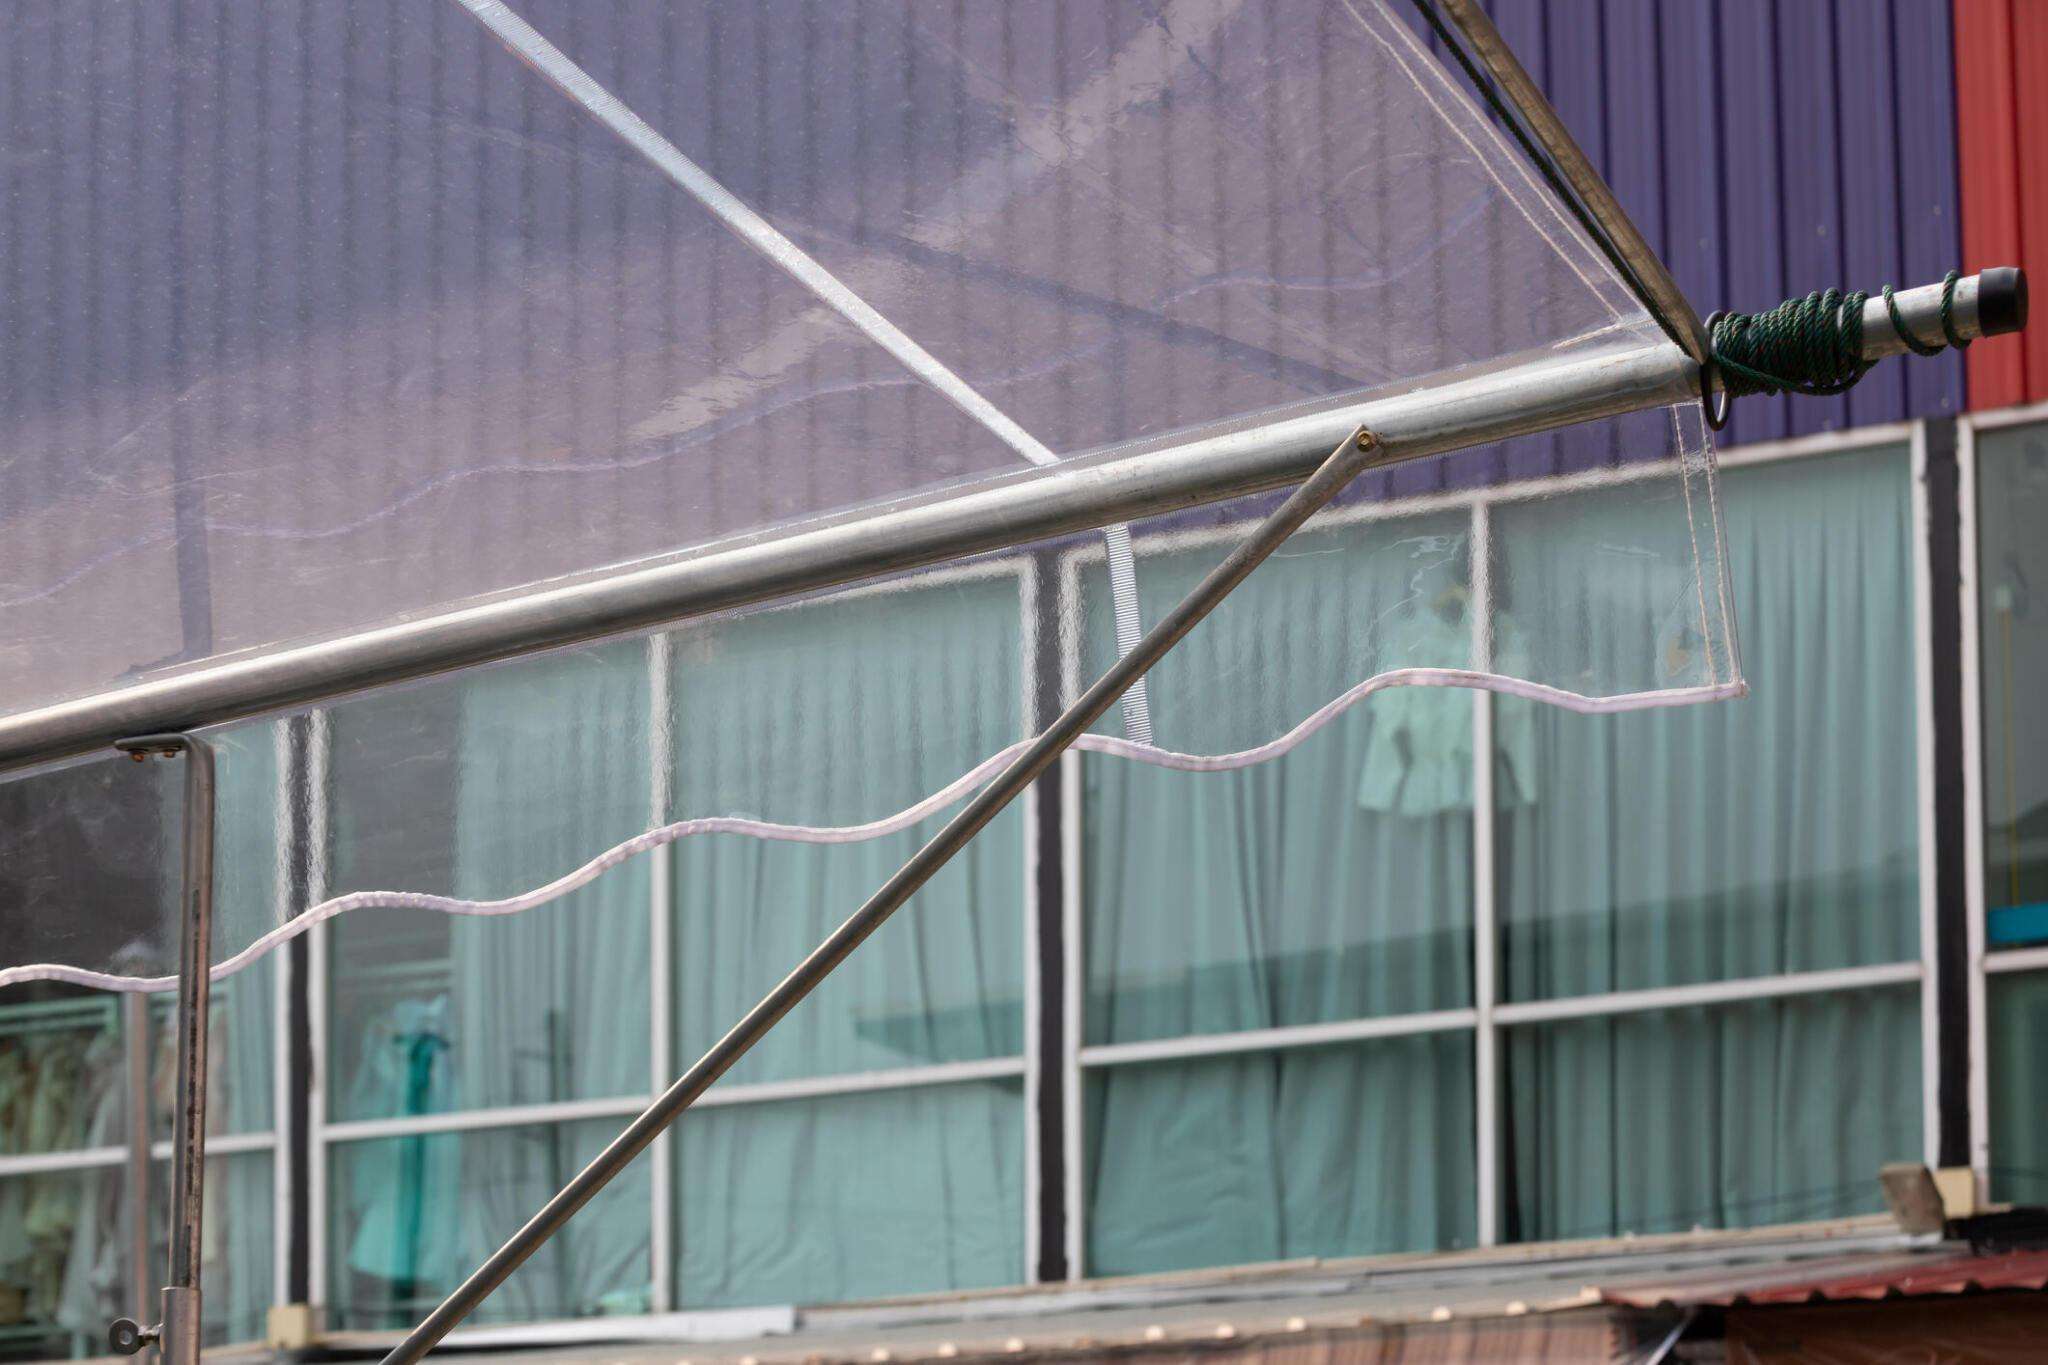
2. DIY Outdoor Roofing Using Polythene Sheets

Does the UAE's unpredictable weather spoil your outdoor relaxation and make it difficult to enjoy the outdoors? Build a durable polypropylene patio cover and take control of your outdoor space. It's a beautiful way to transform your patio or deck into a relaxing retreat all year.
Materials
- Polypropylene hollow core panels (16mm thickness recommended)
- Wooden posts (at least 6x6 for solid support)
- Wooden beams (7x17 for main exterior beam and crossbeam, 4.5x14.5 for side members)
- Metal brackets (choose galvanised or stainless for the UAE climate)
- Screws (at least 4 mm diameter, preferably outdoor-rated)
- H-profile and U-profiles for waterproofing
- Aluminium L-shaped profile for sealing against the wall
- Gutter and brackets (optional)
Tools
- Saw
- Drill
- Measuring Tape
- Level
- Screwdriver
Step-By-Step Process
- Measure and Plan: Decide your roof size. Remember, it needs a slight slope for drainage (about 5 degrees).
Mark the locations for your support posts. - Start Building: Dig holes for the support posts (at least 60cm deep).
Treat the bottoms of your posts with a moisture-resistant sealant.
Attach the main exterior beam to the wall, using wall plugs every 40 cm for a secure hold.
Set your posts in the ground, ensuring they're perfectly vertical with a level. Secure them with concrete. - Construct the Frame: Install the front crossbeam on top of the posts, ensuring it's level.
Add longitudinal beams, spacing them to match the width of your polypropylene panels. - Install the Panels: Position the first panel on the frame, leaving a small gap near the wall for expansion.
Pre-drill screw holes and fix the panels to the beams using wide washers to distribute the load.
Work outwards from the wall, securing the panels approximately every 50cm. - Waterproof Your Roof: Use H-profiles to connect the panels tightly. These unique pieces fit between the panels, making sure no water can leak through.
Add U-profiles to the sides of your roof. These cover the open edges, keeping out dirt, leaves, and other stuff you don't want inside.
Seal the gap between the roof and the wall with an aluminium L-shaped profile. It covers any space between your roof and the wall, making sure rainwater doesn't sneak in.
Attach a gutter to collect rainwater and protect your patio from runoff.
Tips
- Check local building codes before starting – there may be regulations on roofing structures.
- Choose a sunny day for this project, allowing sealants to cure correctly.
- Customise the size and design to complement your patio space perfectly.
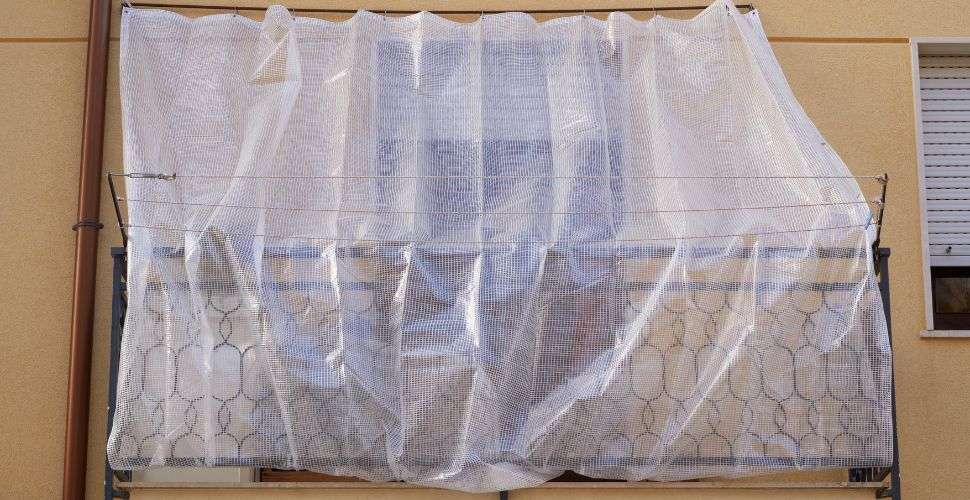
3. DIY Window, Door, and Porch Awnings using polythene sheets
Custom polythene awnings add a touch of shade and style to your windows, doors, and porches. Custom polythene awnings provide shade and protection from elements like rain and snow.
They can help extend the lifespan of your windows, doors, and porches by preventing water damage and reducing exposure to harsh sunlight.
Materials
- ½ inch PVC pipe (length depends on your window width)
- PVC T-connectors and elbows
- PVC cutters, primer, and cement
- 6-foot-wide polythene sheet (length depends on desired awning size)
- Carpet tacks (or rust-resistant alternative for the UAE climate)
- ¾ inch conduit clamps
- #8 pan head screws (1 inch)
- Optional: spray paint to match your home
Tools:
- Measuring tape
- Pencil
- Screwdriver
Step-By-Step Process
- Build the Frame: Measure your window and determine your desired awning size. A 6-foot sheet works well for a 5-foot window.
Cut your PVC pipe to size and dry-fit the pieces using the T-connectors and elbows. Design the frame with a slight outward slope for rainwater runoff. - Prep the Awning Polythene: Have your polythene sheet attached to a loop (inside-out seam) for a decorative touch.
- Attach the Polythene: Slide the plastic over your frame, ensuring a snug fit, and mark where the fittings touch the material.
Remove the polythene and glue your frame together.
Slide the polythene back on and attach it to the frame with carpet tacks. - Hang the Top: Add T-connectors at the top corners of the frame.
Attach the awning to your wall using conduit clamps and screws. Utilise the T-connector extensions for secure hanging. - Add Support Braces: Cut PVC for angled support braces (a 45-degree angle is a good starting point).
Dry-fit the braces to achieve your desired awning angle.
Tips
- This awning design is surprisingly sturdy, but you can add additional support for awnings wider than 6 feet.
- Want a customised look? Paint your conduit clamps to match your home's exterior.
- To combat the humid UAE climate, opt for stainless steel hardware to prevent rust.
4. DIY Sheet Planters Using Polythene Sheets
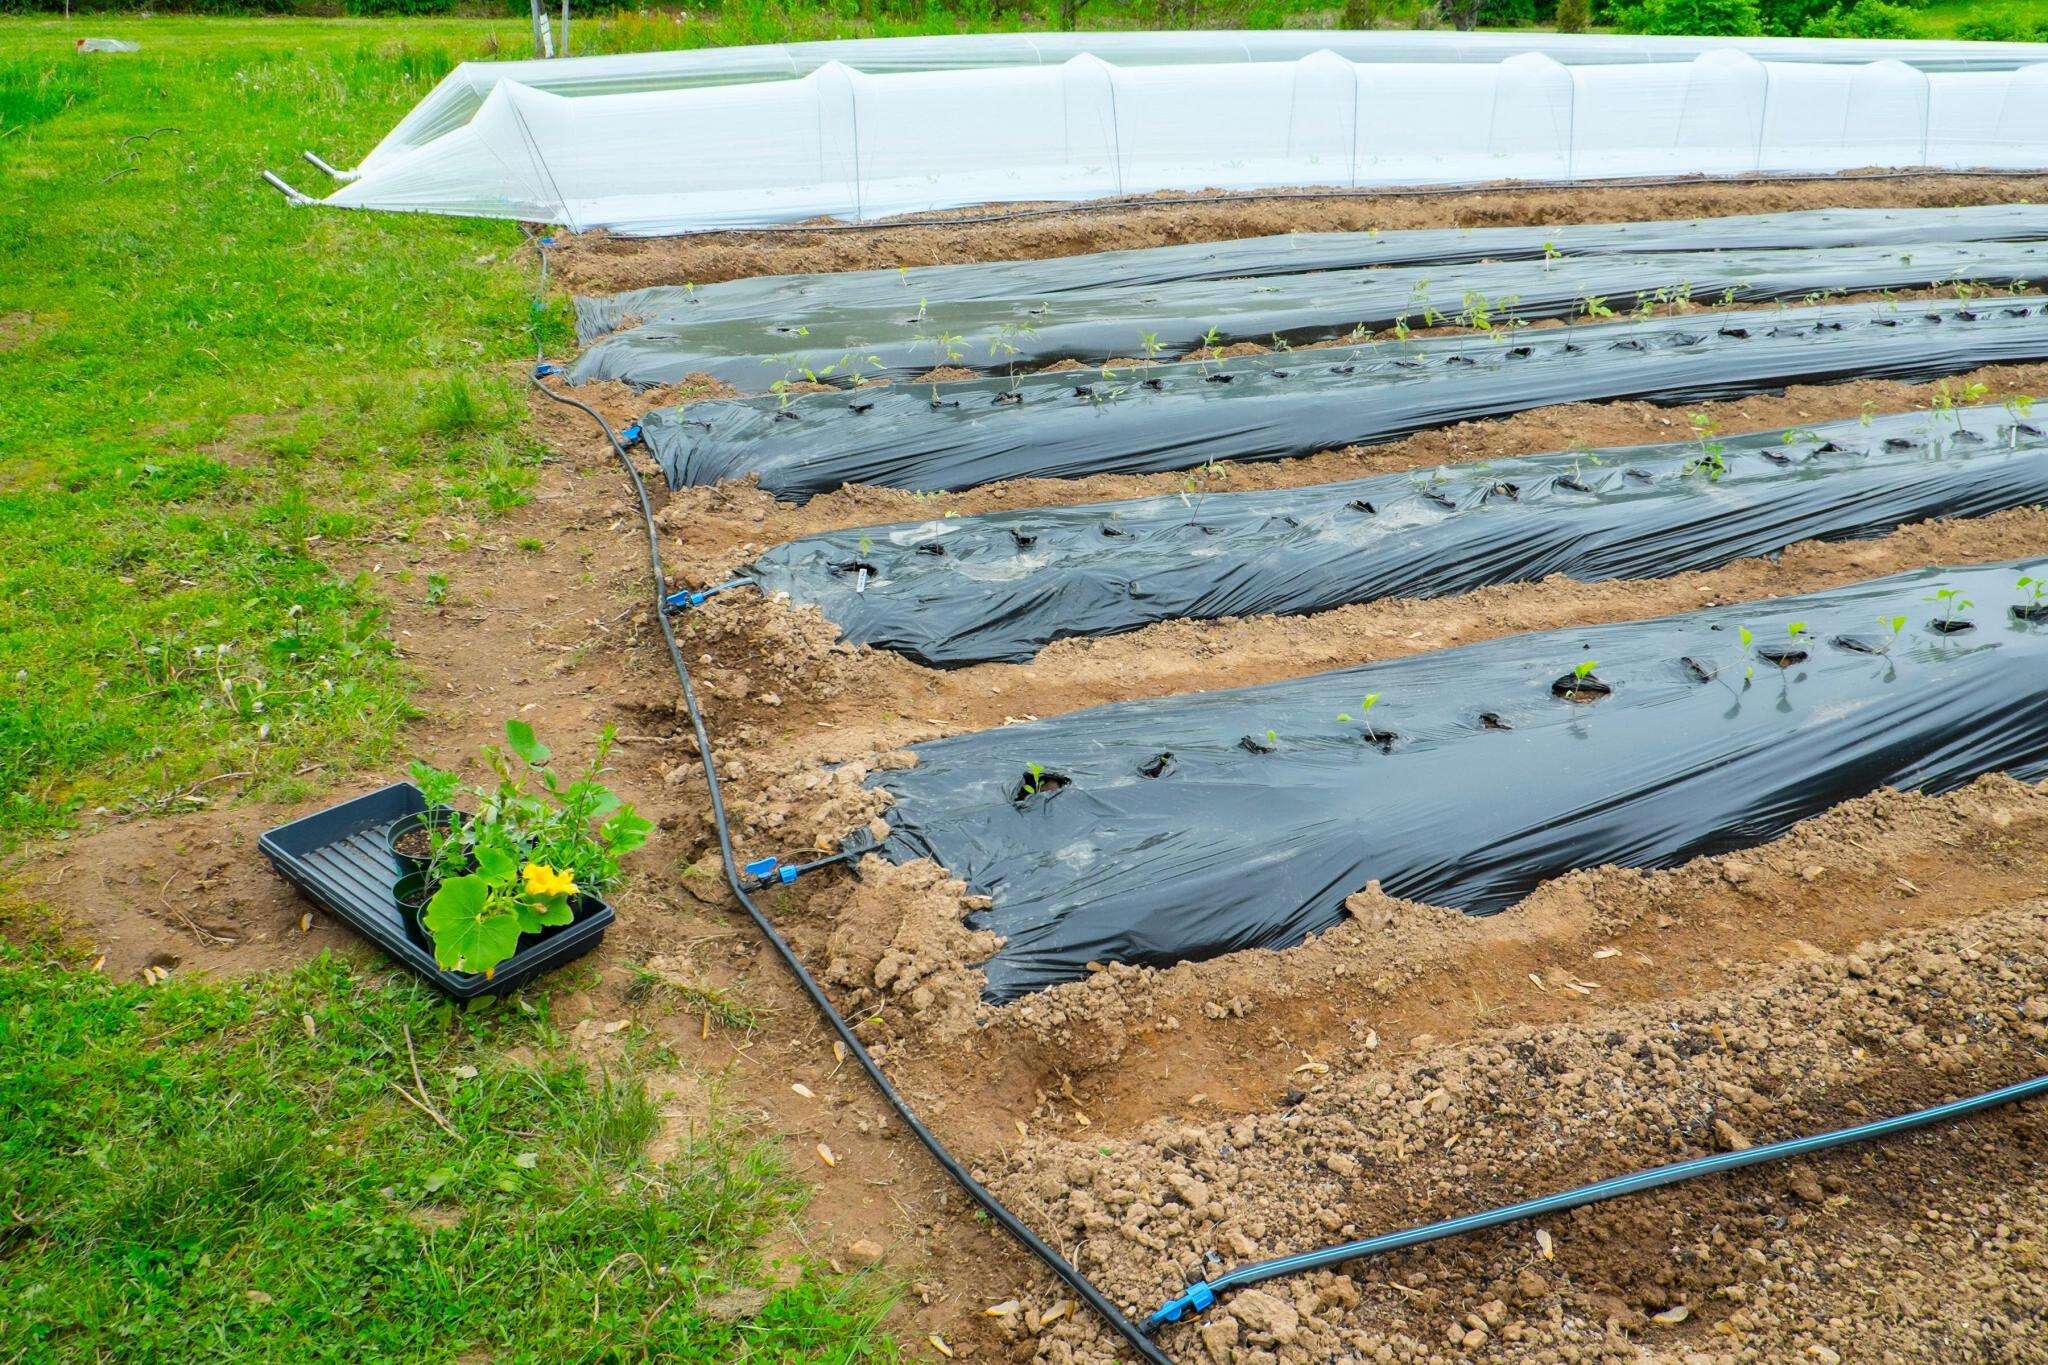
It's surprising, but a polythene sheet is your secret weapon to protect your garden's soil. Warming the soil can help you plant earlier and reap a more abundant harvest. Polythene sheets retain moisture and prevent weed growth. Its ability to protect plants from extreme temperatures and harsh weather conditions will ensure a thriving harvest, even in the challenging UAE climate.
Materials
- Thick polyethylene sheeting (at least .25mm or 250mu/1000g) – clear or black works!
- Groundsheet pegs, bricks, or large stones to secure the polythene
- Optional: Hoe, weed control, or mulch
Step-By-Step Process
- Cover the Soil: Lay the polythene sheeting smoothly over your planting area, stretching it to maximise heat retention.
- Secure It Tight: Weigh down the edges of the polythene with groundsheet pegs, bricks, or stones. Alternatively, bury the edges for a firm hold. The goal is to prevent heat from escaping.
- Let the Sun Work: Leave the polythene in place for several weeks. It will prevent freezing, raise the soil temperature, and create ideal conditions for spring planting.
- Prep for Planting: Remove the polythene once the soil feels warm to the touch.
Tips
- Polythene doesn't allow proper drainage, so avoid using it for long-term weed suppression.
- Research fertilisers or composting options tailored to your specific plants can boost your soil health further.
5. DIY Wall Art using polythene sheets

The fifth creative DIY project allows you to add a vibrant and contemporary touch to your living space. You can create stunning geometric art pieces using paper cutouts and polythene.
Whether you hang them on your walls or display them on shelves, these unique creations will add colour and modern flair to any room in your home.
Materials
- White paper
- Poster colours or watercolours
- Paintbrushes
- Scissors
- Ruler and pencil
- White glue
- Hardboard
- Clear polythene sheet
- Wooden pieces (for the frame)
- Wood glue
Tools
- Hammer and nails
- Hanging mechanism
Step-By-Step Process
- Colour Burst: Lightly dampen your white paper with a wet sponge. Paint bold designs with vivid posters or watercolours.
- Cut Those Shapes: Once dry, cut the paper into strips (at least 1 inch wide). Then, unleash a flurry of triangles! Experiment with different sizes and shapes.
- Design Time: Use a large white sheet as your canvas. Lightly pencil in a border for a structured look. Arrange and glue your triangles to create a vibrant design – go wild or make a planned pattern! Erase your border lines when finished.
- Build the Frame: Cut the hardboard to match the size of your artwork. Cut and assemble wooden pieces to create a frame around the hardboard.
- Wrap with Polythene: Place your art on the framed hardboard. Stretch clear polythene over the front, securing it to the back of the frame using a hammer and nails. It adds a protective layer and a modern sheen.
- Hang It Up: Attach your hanging mechanism to the back of the frame.
Tips
- Unleash your creativity with colours, triangle shapes, and patterns!
- For additional dimension, try cutting other geometric shapes besides triangles.
- These artworks make thoughtful, personalised gifts for friends and family.
Conclusion
From greenhouses and awnings to soil warming and vibrant wall décor, polythene sheets prove their incredible versatility in DIY.
They offer protection, warmth, a splash of colour, and a budget-friendly way to upgrade your home and garden. Don't be afraid to experiment!
With a bit of creativity and a roll of polythene, your project possibilities in the UAE are endless. Order all your DIY materials and tools from FEPY and transform your space.