How to Mix Tile Adhesive for Optimal Bonding
April 6th 2024
Perfect tile adhesive mix is crucial to a successful tiling project. An accurate mixing of tile adhesive is essential to ensure a long-lasting bond and a smooth finish. The intricacies of selecting the tile adhesive, mixing carefully, and applying the adhesive are critical for optimal bonding. This guide will prepare you to navigate these steps with confidence.
10 Steps to Mix Tile Adhesive for Optimal Bonding
These are the ten significant steps in mixing tile adhesive and the best practices for creating the perfect foundation:
Step 1: Prepare Your Workspace
Step 3: Choose the Right Mixing Tool
Step 4: Getting the Consistency Right
Step 5: Give it time to mature
Step 7: Choose Your Tile-Laying Method
Step 8: Place Your Tiles Carefully
Step 10: Grout Makes it Complete
Now, we'll cover each step in detail with clear instructions.
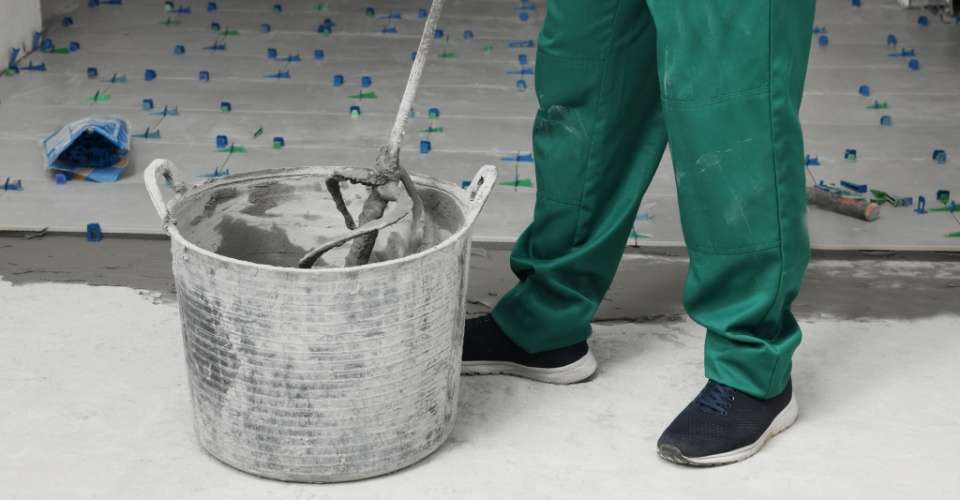
Step 1: Prepare Your Workspace
A clean workspace is the foundation for a strong tile bond. Contaminants like dirt or old adhesive can weaken the mix.
Ensure that the bucket you choose is large enough to hold the desired amount of adhesive. A too-small bucket will cause a mess. There will be difficulties in mixing it if the size is too large.
Set the bucket somewhere stable and get all your tools ready so you won't have to scramble while the adhesive sets.
Tips for Success
- Cleanliness is crucial for adhesive strength.
- Bucket size matters for mixing ease and avoiding spills.
- Good preparation ensures a smooth tiling process.
Step 2: Add Water First
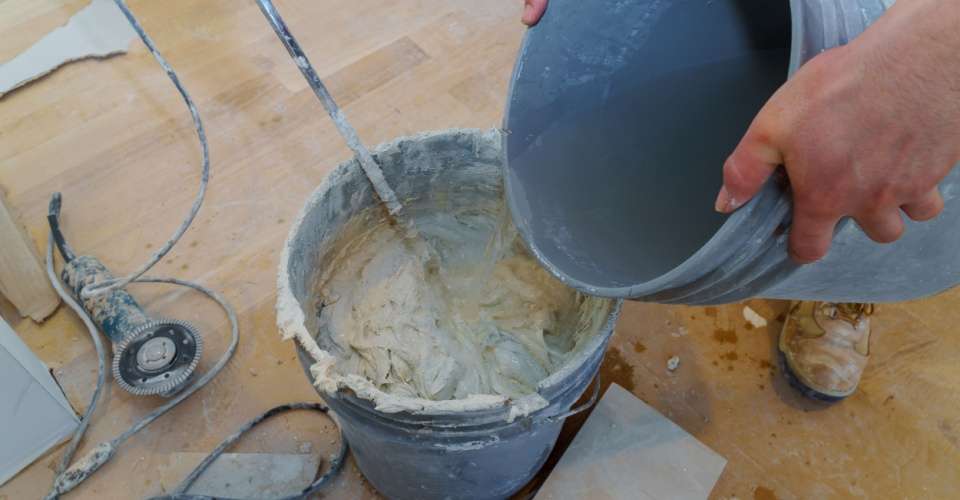
Always add water to your bucket before powdering. This method prevents lumps from weakening your bond by mixing powder evenly.
Additionally, you can ensure your adhesive is spreadable but strong by controlling its consistency.
Measure the water you need and pour it into your clean bucket.
Gradually sprinkle the adhesive powder, stirring until you have a smooth paste.
Tips for Success
- Adding water first prevents clumping.
- This method ensures even water distribution for the ideal mix.
- The right consistency makes for an effective, easier-to-use adhesive.
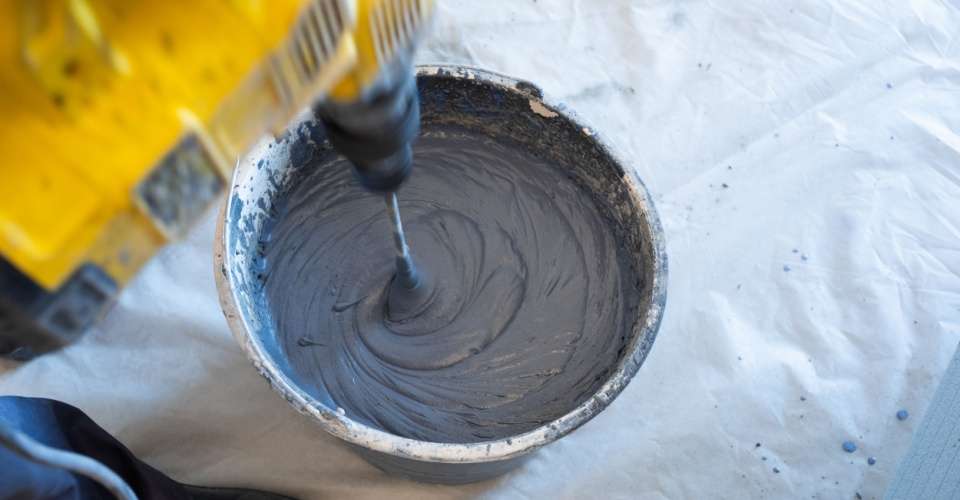
Step 3: Choose the Right Mixing Tool
A powerful mixer and the mixing paddle are essential for a lump-free, perfectly blended adhesive.
Your standard stick will not be able to provide the power you need. So, use an electric mixer with a tile adhesive paddle. It's designed to break down the powder thoroughly.
Start slowly to keep the mix from splashing, then gradually speed up until the adhesive is smooth and creamy.
Tips for Success
- The proper mixing tool ensures a consistent adhesive.
- Electric mixers with specialised paddles provide the best results.
- Thorough mixing creates effective, easy-to-apply adhesive.
Step 4: Getting the Consistency Right
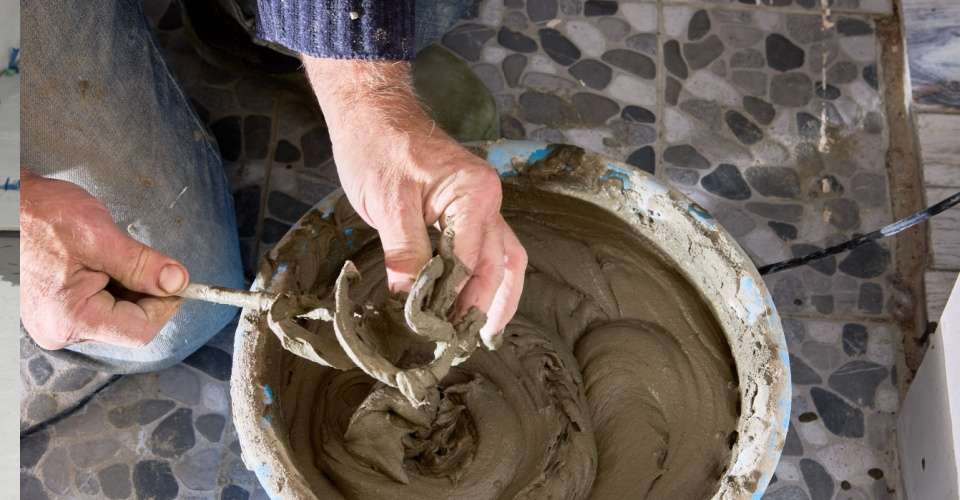
An ideal adhesive should be smooth and creamy, slightly thicker than pancake batter. This consistency will be strong enough to hold the tiles but easy to spread. Achieving this consistency is crucial for an effective, long-lasting tile job.
A mix that's too thin will weaken the bond, while a too-thick blend will be difficult to work with and can make your tiles uneven.
Measure the correct amount of water, pour it into your bucket, and gradually add the powder while stirring constantly with your electric mixer.
The mixer's paddle is crucial here – its design provides the power to avoid lumps.
Tips for Success
- The right consistency ensures a strong bond and easy tiling.
- Aim for a smooth, creamy texture without lumps.
- Your electric mixer is essential for achieving the perfect mix.
Step 5: Give it time to mature
Allow your adhesive to cool for a few seconds once you've achieved the desired consistency.
Cover the bucket and let it sit for about 5-10 minutes.
This "maturing" step helps all the ingredients work together and gives you a smoother mix for easier tiling.
You will then need to stir the mixture again before spreading it out.
Tips for Success
- A short rest helps the adhesive's ingredients work their magic.
- This step makes for a smoother, lump-free adhesive.
- Don't let it sit too long – a quick rest is all it needs!
Step 6: Apply with Care
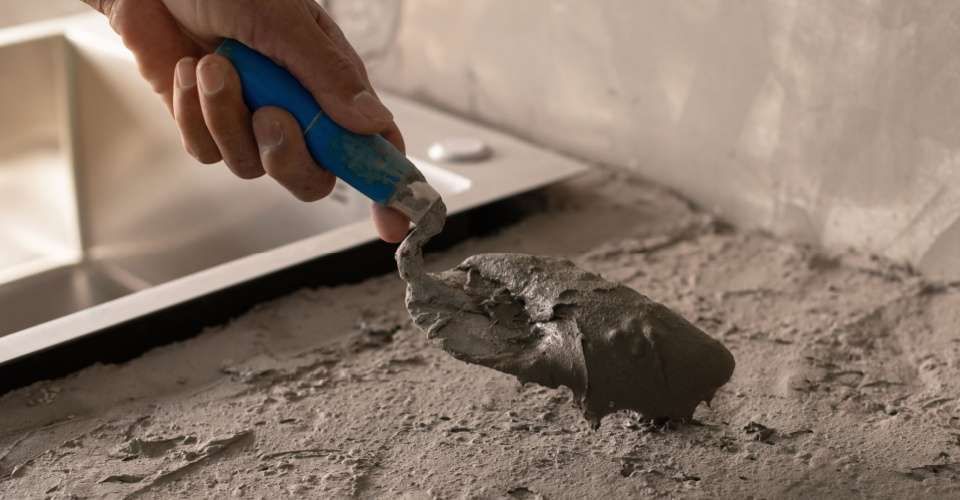
A good tiling job depends on even adhesive application.
Use a notched trowel to spread the adhesive over the surface where you are laying your tiles. The notches create grooves, which help the adhesive grip tightly.
Work in small sections so the adhesive doesn't dry out before you set the tiles.
You should press the tiles firmly into the adhesive and ensure the entire back is covered.
Tips for Success
- A notched trowel gives you even adhesive coverage and an effective grip.
- Work in small sections for the best results.
- Make sure tiles have contact with the adhesive for a lasting bond.
Step 7: Choose Your Tile-Laying Method
Tile laying depends on the surface and tile type. Choosing the proper installation method impacts the quality and durability of the tile.
There are three effective methods:
- Thin-bed method: It is the best for most standard tiles on flat surfaces. You spread a thin layer of adhesive directly onto the surface.
- Medium-bed method: It is perfect for larger or heavier tiles. Additional support requires a slightly thicker layer of adhesive.
- Thick-bed method: You can use this for really uneven surfaces. The thick "bed" of adhesive helps level out bumps and dips before you lay the tiles.
Tips for Success
- Match the method to your tiles and surface for the strongest bond.
- Larger tiles require medium or thick beds.
- The thick-bed method is perfect for uneven surfaces.
Step 8: Place Your Tiles Carefully
Pressing your tiles into the adhesive is crucial for a strong, lasting bond.
Don't just plunk them down – give them a little twist as you press.
It helps squeeze out air pockets, makes the adhesive spread evenly, and ensures it covers the whole back of the tile for maximum strength.
Tips for Success
- Press AND twist tiles into place for the best bond.
- This technique prevents air pockets that can weaken the adhesive over time.
- Full tile-adhesive contact makes for a tiled surface that will last.
Step 9: Use Your Spacers
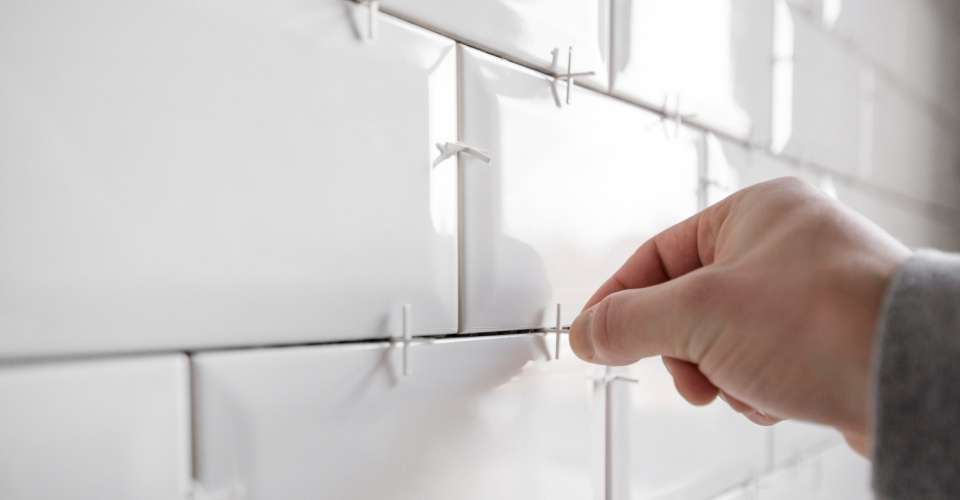
Even grout lines make for a polished, professional-looking tile job. That's where spacers come in!
These plastic helpers keep your tiles from shifting as the adhesive sets, so you don't get wonky gaps. Choose the right size spacers for the look you want.
After you set each tile, pop a spacer at each corner where the sides of the four tiles meet. Press them gently into the adhesive to keep things perfectly aligned.
Tips for Success
- Spacers guarantee even gaps and straight grout lines.
- They make the grouting process easy and clean.
- Pick the right spacer size for your desired grout line width.
Step 10: Grout Makes it Complete
Grout isn't just about looks; it's essential for a long-lasting tile installation.
Grout fills the gaps, locking your tiles in place so they don't shift, and it shields your tiles and the surface underneath from moisture damage.
Please choose a colour that complements your tiles and mix it carefully for a smooth, even texture.
To pack the grout tightly, use a rubber float to spread it into each gap at a 45-degree angle.
Using a damp sponge, wipe away excess grout with the float before it hardens. Once dry, give everything a final buff with a dry cloth.
Tips for Success
- Grout is essential for support, appearance, and moisture protection.
- Choose a complementary colour and mix it well.
- Apply the grout carefully and clean it before it dries.
- A final buff reveals clean and polished tiles.
Tips for the Perfect Tile Adhesive Mix
You understand the 10-step process. What's next? Implement it with these quick tips. Let's now explore seven super-effective tips for getting the perfect tile adhesive mix.
1. Choose Wisely:
Pick the right adhesive for your project. The ready-mix paste is great for small jobs, the powdered adhesive is customizable for larger areas, and epoxy resin is your go-to for super waterproof bonds.
2. Follow the Instructions:
Whether you use powder, paste, or epoxy, read the manufacturer's directions carefully. They'll tell you the correct mixing ratios and how long to stir for optimal results.
3. Work Quickly:
Once mixed, adhesives start to set. Apply yours within 15-20 minutes, and don't grout until the adhesive is fully dry (usually at least 24 hours).
4. Quality Matters:
Use high-quality ingredients in your adhesive mix for the strongest, most durable bond.
5. The Magic of Additives:
Sometimes, additives can improve your adhesive. Ask a tiling expert if your projects need additives.
6. Manage Humidity:
Keep humidity levels steady while your adhesive sets so it doesn't dry out too quickly.
7. Apply with Care:
Spread your adhesive evenly with a trowel. It ensures good coverage for the strongest possible bond.
FAQs
Q. Can you mix tile adhesive by hand?
It is possible to mix by hand, but it is not recommended. It's hard to get a perfectly lump-free mix. An electric mixer is always better.
Q. How to mix floor tile adhesive?
Always follow the directions on the package, but the process is the same as any other tile adhesive. Just make sure you have the right consistency for your floor's surface.
Q. What is the tile adhesive mix ratio?
It depends on the product, so always check the instructions. It's usually a specific amount of powder mixed with water.
Q. How do you mix tile adhesive without a mixer?
When you're in a hurry, you can use a mixing stick or trowel, but you'll have more difficulty getting a lump-free mixture.
Q. How to apply tile adhesive to the wall?
Use a notched trowel to spread it evenly. The "teeth" of the trowel create grooves that help the tiles grip securely.
Final Words
The success of your tiling project depends on perfectly mixed tile adhesive. Follow the guide above and the manufacturer's instructions. Always seek professional help if needed. Remember, for the best quality tile adhesives at the best prices, shop the FEPY.
FEPY is a leading e-commerce platform for construction tools and materials in the UAE. It offers the best brands and premium quality tools at the most cost-effective prices.
FEPY has a collection of the best tile adhesives from top brands. You can explore them all here.