5 DIY Concrete Projects for Your Home in the UAE

March 16th 2024
The UAE's DIY and hardware stores are booming thanks to the surge in home renovations. Concrete's sleek lines, minimalist style, and smooth texture create incredibly desirable designs that complement wood and metal accents. This blog will explore five simple DIY concrete projects that can make a powerful statement in your home decor.
1. Concrete Planter
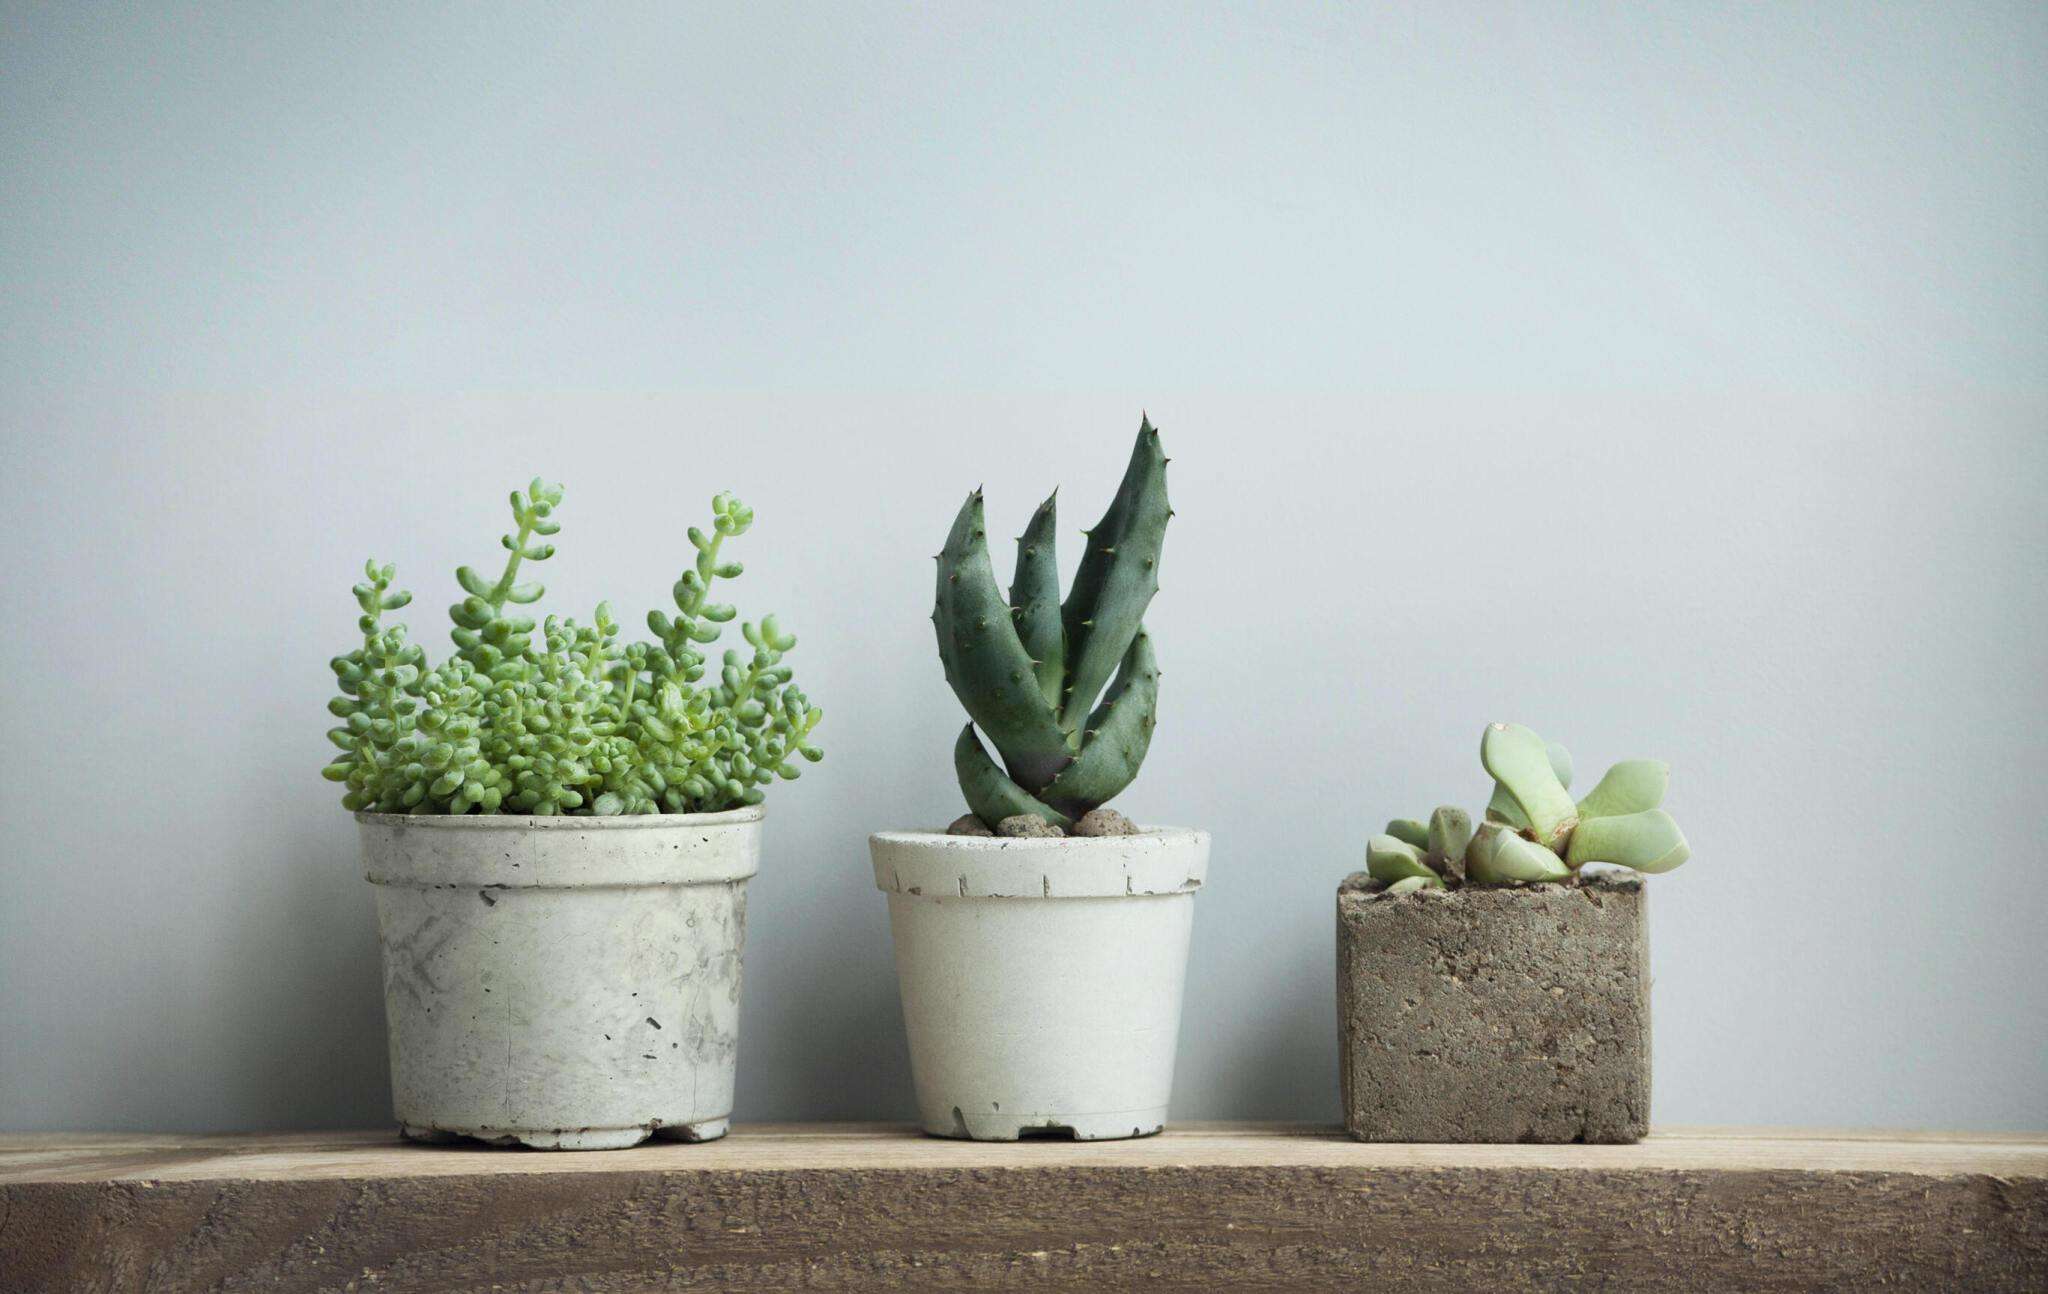
Let's bring a touch of nature indoors (or outdoors) with a stylish concrete planter. These modern planters are surprisingly simple to make and use budget-friendly materials you might already have. In no time, you'll have a collection to house your favorite greenery.
Here's what you'll need:
- Portland cement
- Water
- Mixing container
- Recycled plastic container (milk carton, yogurt container, etc.)
- Plastic cup
- Rocks, stones, or anything to weigh down your mold
- Sandpaper or sanding block
- (Optional) Peat moss and perlite
Step-by-Step Guide:
- Mix it Up: We'll use a simple 4:1 ratio of Portland cement to water for our concrete mixture.
- Shape Your Planter: Pour the cement mix halfway up your chosen container. Now, place a plastic cup (or another form) inside and weigh it down with rocks or stones. If your container has an open top, loosely cover it to allow airflow while the concrete cures.
- Patience is Key: Let your creations cure for at least a day. It ensures the concrete is dry and won't crack when you remove the container and mold.
- Peel and Reveal: Once your planters are completely dry, remove the outer container and the placeholder inside to admire your finished masterpiece!
- Smoothing Touches: Now that your planter is out from the mold, use sandpaper or a sanding block to smooth rough edges and remove any excess concrete bits.
You've created a beautiful and unique planter to add a touch of modern elegance to your home. Try using different-sized containers or adding decorative touches before the concrete cures.
2. Concrete Bench
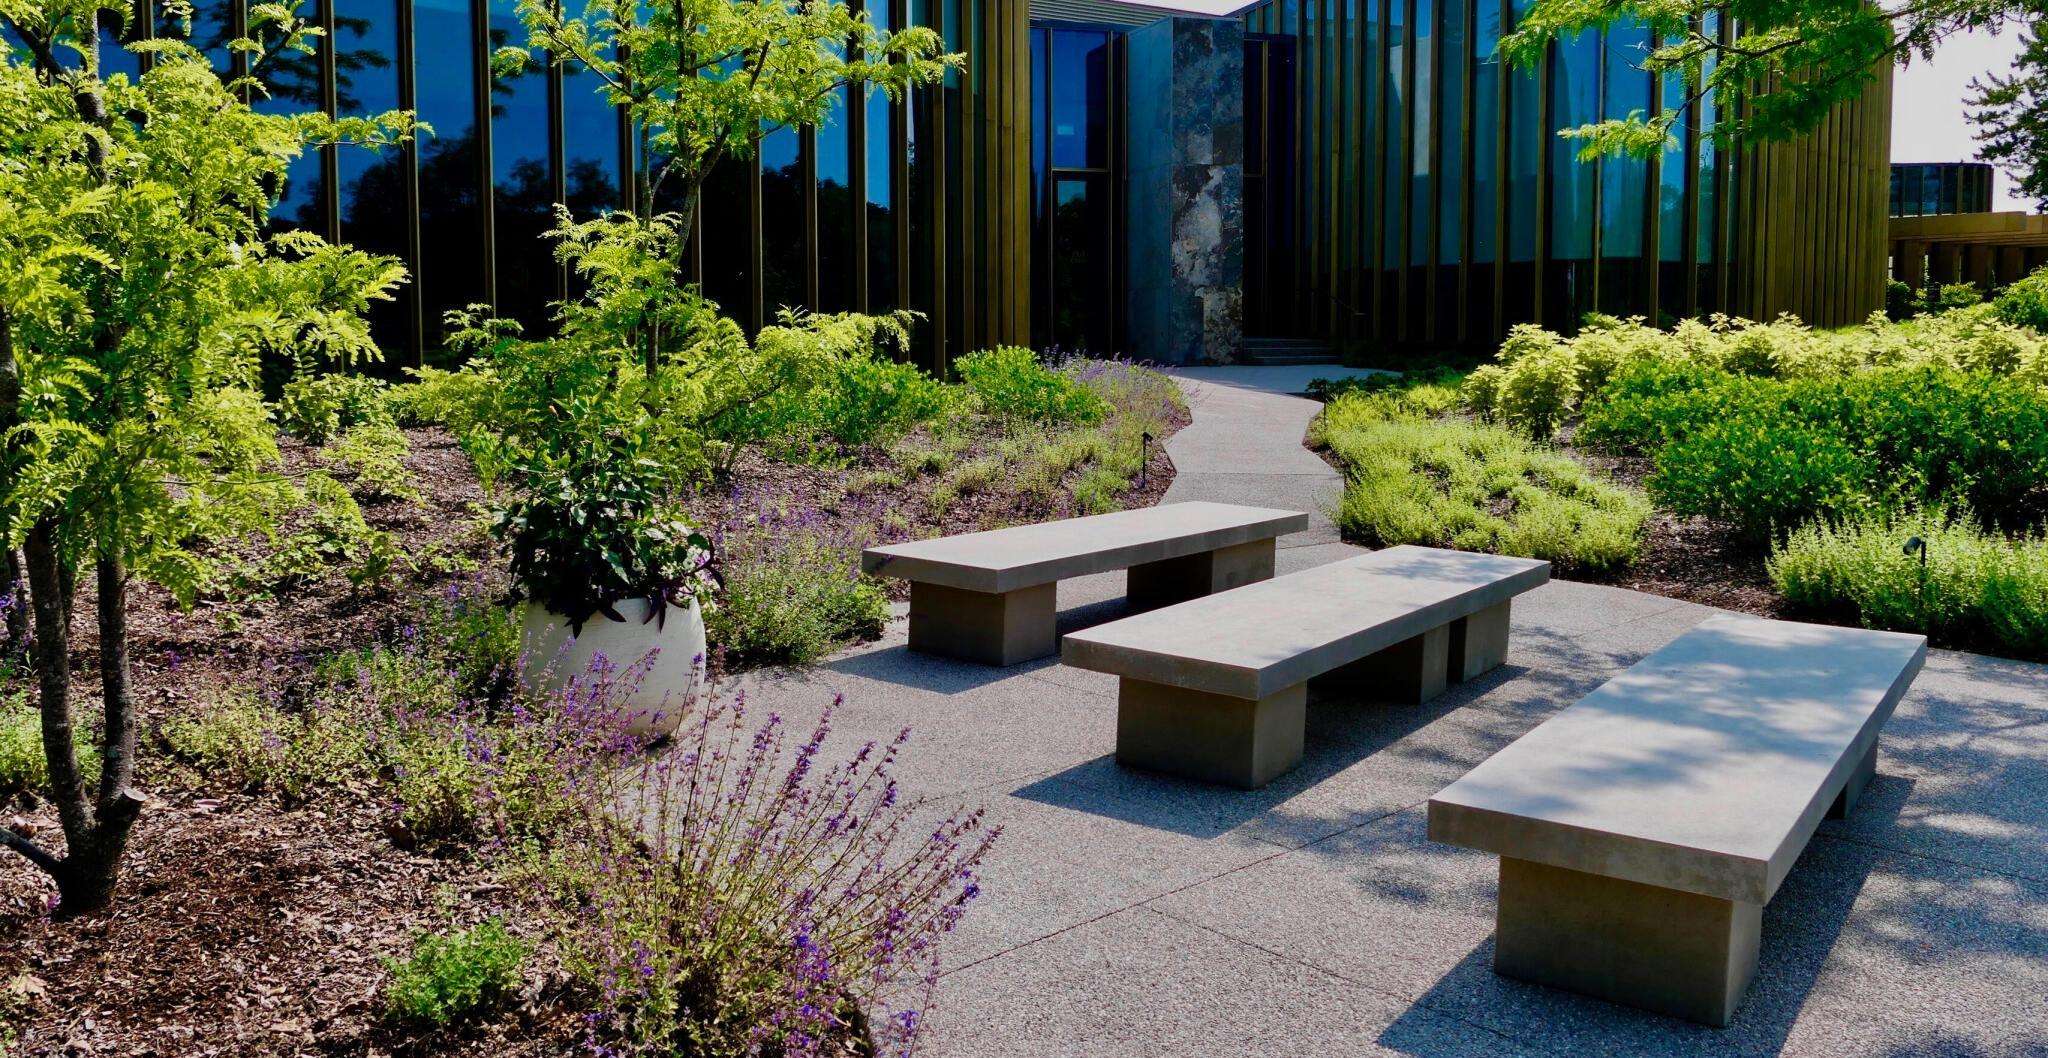
Imagine unwinding in your backyard paradise, surrounded by greenery, on a stunning concrete bench you made yourself! This DIY project lets you build a sturdy, modern bench that adds a touch of elegance to your outdoor space. It's the perfect spot to relax.
Here's what you'll need to get started:
- Melamine boards
- Lumber (2x4s)
- Screws
- Concrete mix
- Reinforcement wire
- Caulk
- Construction adhesive
- Rebar pins
- Tools (saw, drill, trowel, level, sander)
Step-by-Step Guide:
- Design Your Dream Bench: Decide on your bench size and use online tools to calculate how much concrete mix you'll need. Here's a sample size: seat - 48 inches long by 16.5 inches wide; legs - 16 inches tall by 15.5 inches wide.
- Building the Molds: Melamine boards will create your mold. Cut and screw them together to form open boxes for the seat and legs. Seal the seams with caulk and add reinforcement wire inside each mold for extra strength.
- Mixing Up the Magic: Combine concrete mix with water in a wheelbarrow. Wear your gloves. If you want a charcoal tint, add some Liquid Cement Color. Mix until the concrete is stiff and moldable.
- Pouring and Curing: Fill the molds halfway with concrete, then add the wire mesh before topping them up. Smooth the surface and tap the sides to release any air bubbles. Let your creations cure for 5-7 days, depending on the weather.
- Putting it All Together: Drill holes in the tops of the legs and underside of the seat by taking apart the molds. Apply construction adhesive to the leg tops and secure the seat with rebar pins. Check for levelness and use sandpaper to smooth any rough edges.
You've built your own beautiful and functional concrete bench. Now, sit back, relax, and enjoy your handiwork in your oasis.
3. Concrete BBQ Station
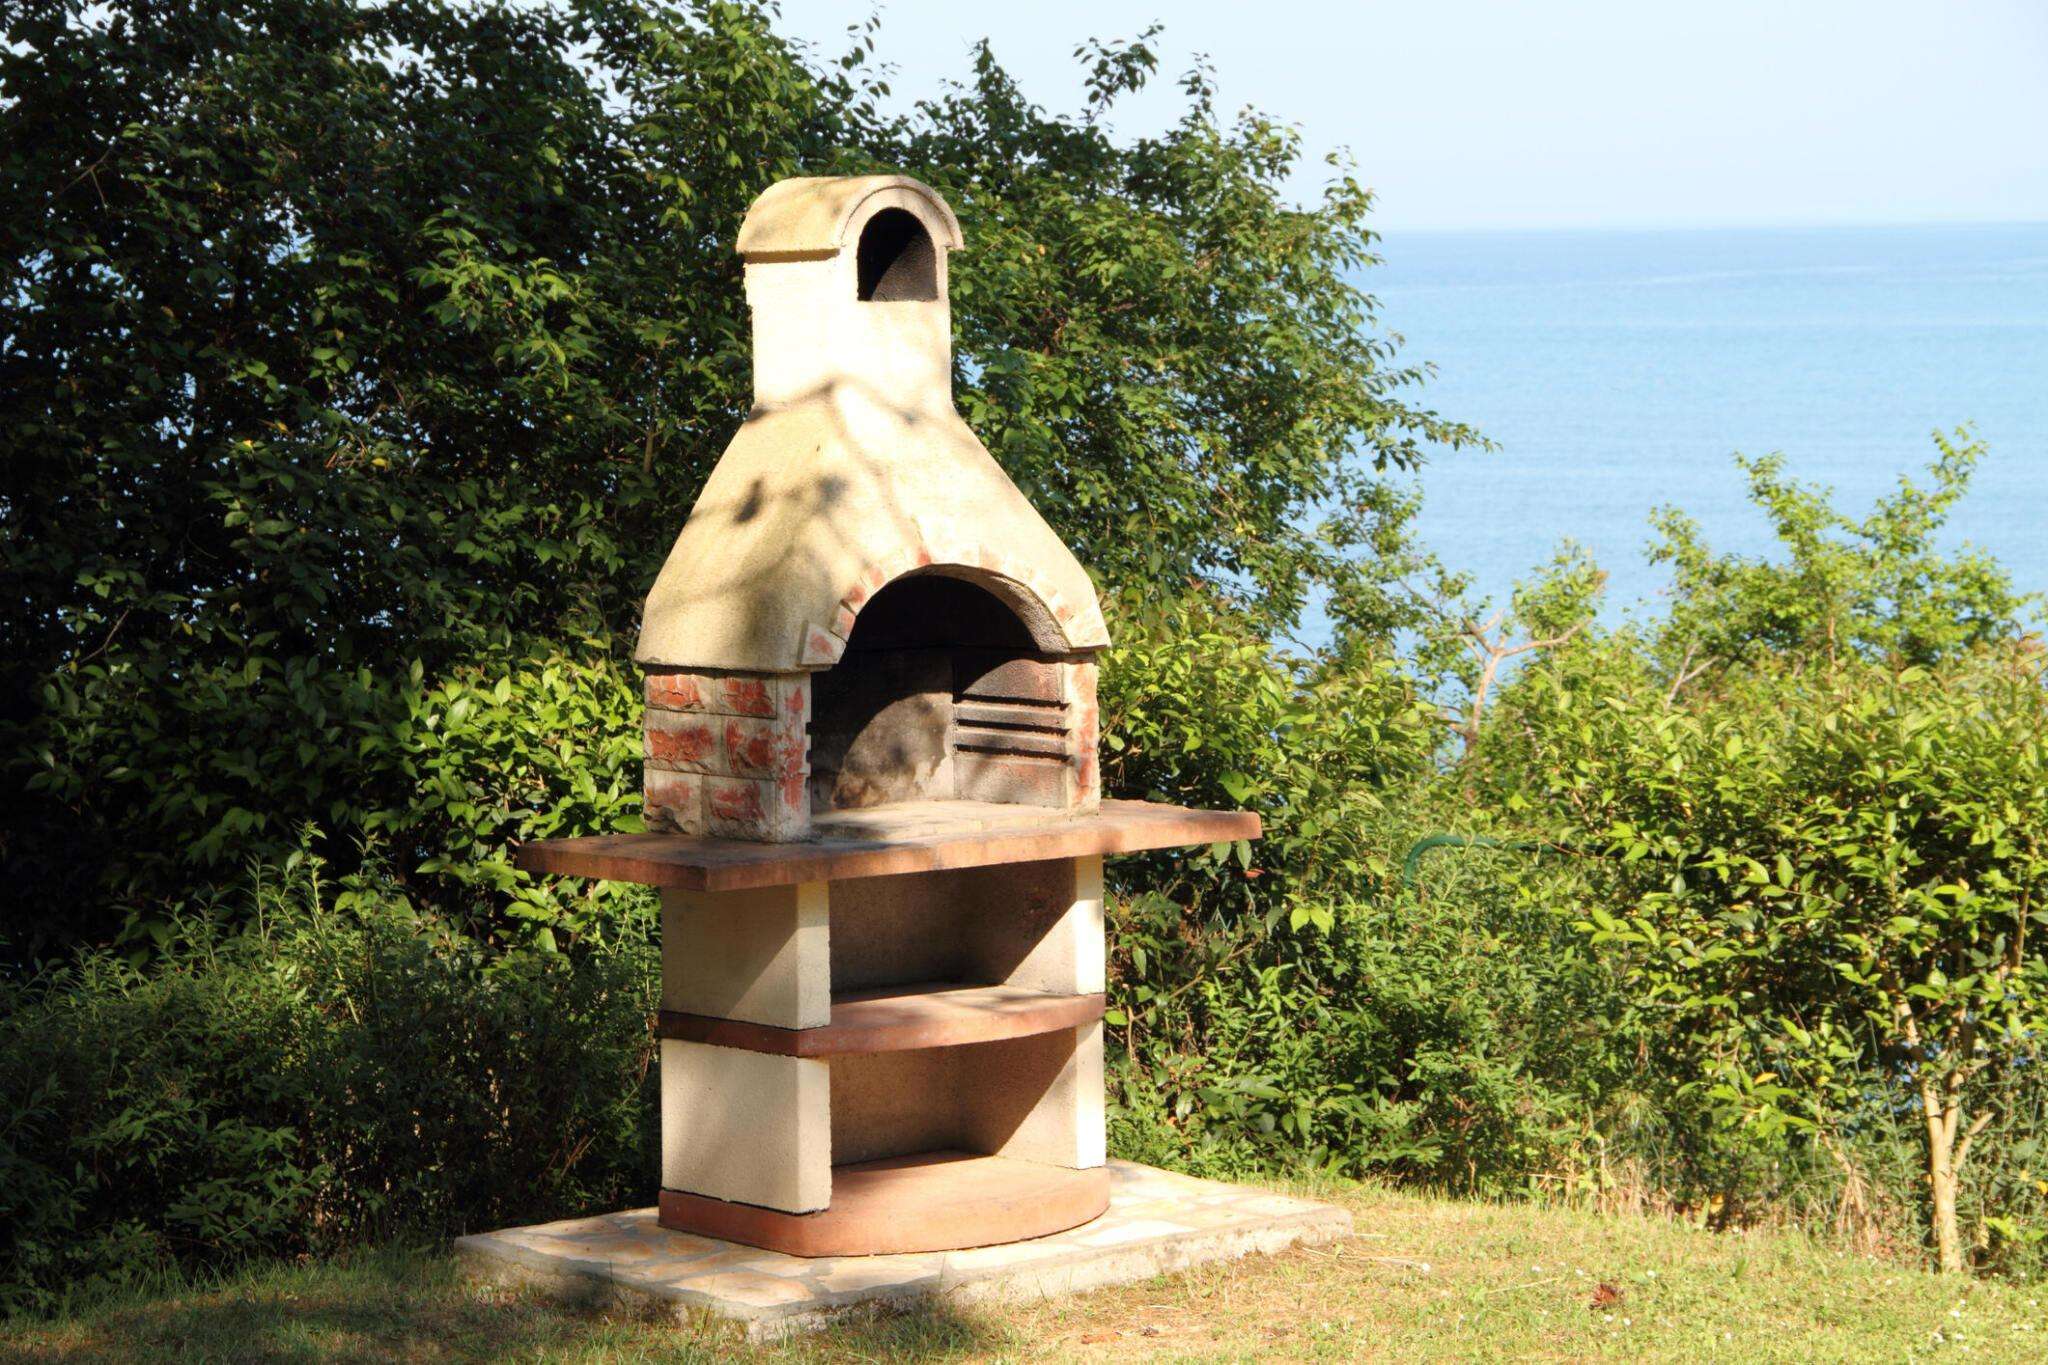
Take your grilling skills to the next level with a custom-built concrete BBQ area. This project lets you create a stylish and functional outdoor entertaining space that seamlessly complements your home. It's also a perfect way to add value to your property and maximize unused patio space.
Consider the size of your BBQ and how much counter space you desire. Choose a well-ventilated area on your patio for optimal grilling.
Here's what you'll need to gather:
- Lumber (H3 Treated Pine)
- Fiber cement sheets
- Cement mix
- Tiles, grout, spacers
- Concrete sealer
- Safety gear (essential)
Step-by-Step Guide:
- Building the Frame: Construct two separate wooden frames for the front and back of the BBQ area. Incorporate a designated recess that perfectly fits your grill.
- Securing the Foundation: Securely attach the frames to your exterior wall and ground, ensuring everything is level. Connect them to create a solid and stable structure.
- Heat Protection: Install fire-resistant fiber cement sheets within the recess to shield the wooden frame from the heat of your grill.
- Crafting Your Concrete Countertop: Secure a firm base and pour concrete mix, creating a mold for the sleek countertop.
- Finishing Touches: After the concrete cures, remove the mold. Polish the concrete countertop and seal it with your chosen finish for protection.
- Optional but Awesome: Build a decorative splashback with tiles and a concrete border, or add storage doors with timber frames for extra functionality.
Enjoy your custom BBQ station – the perfect place to grill and entertain under the UAE's open sky!
4. Concrete Coffee Table
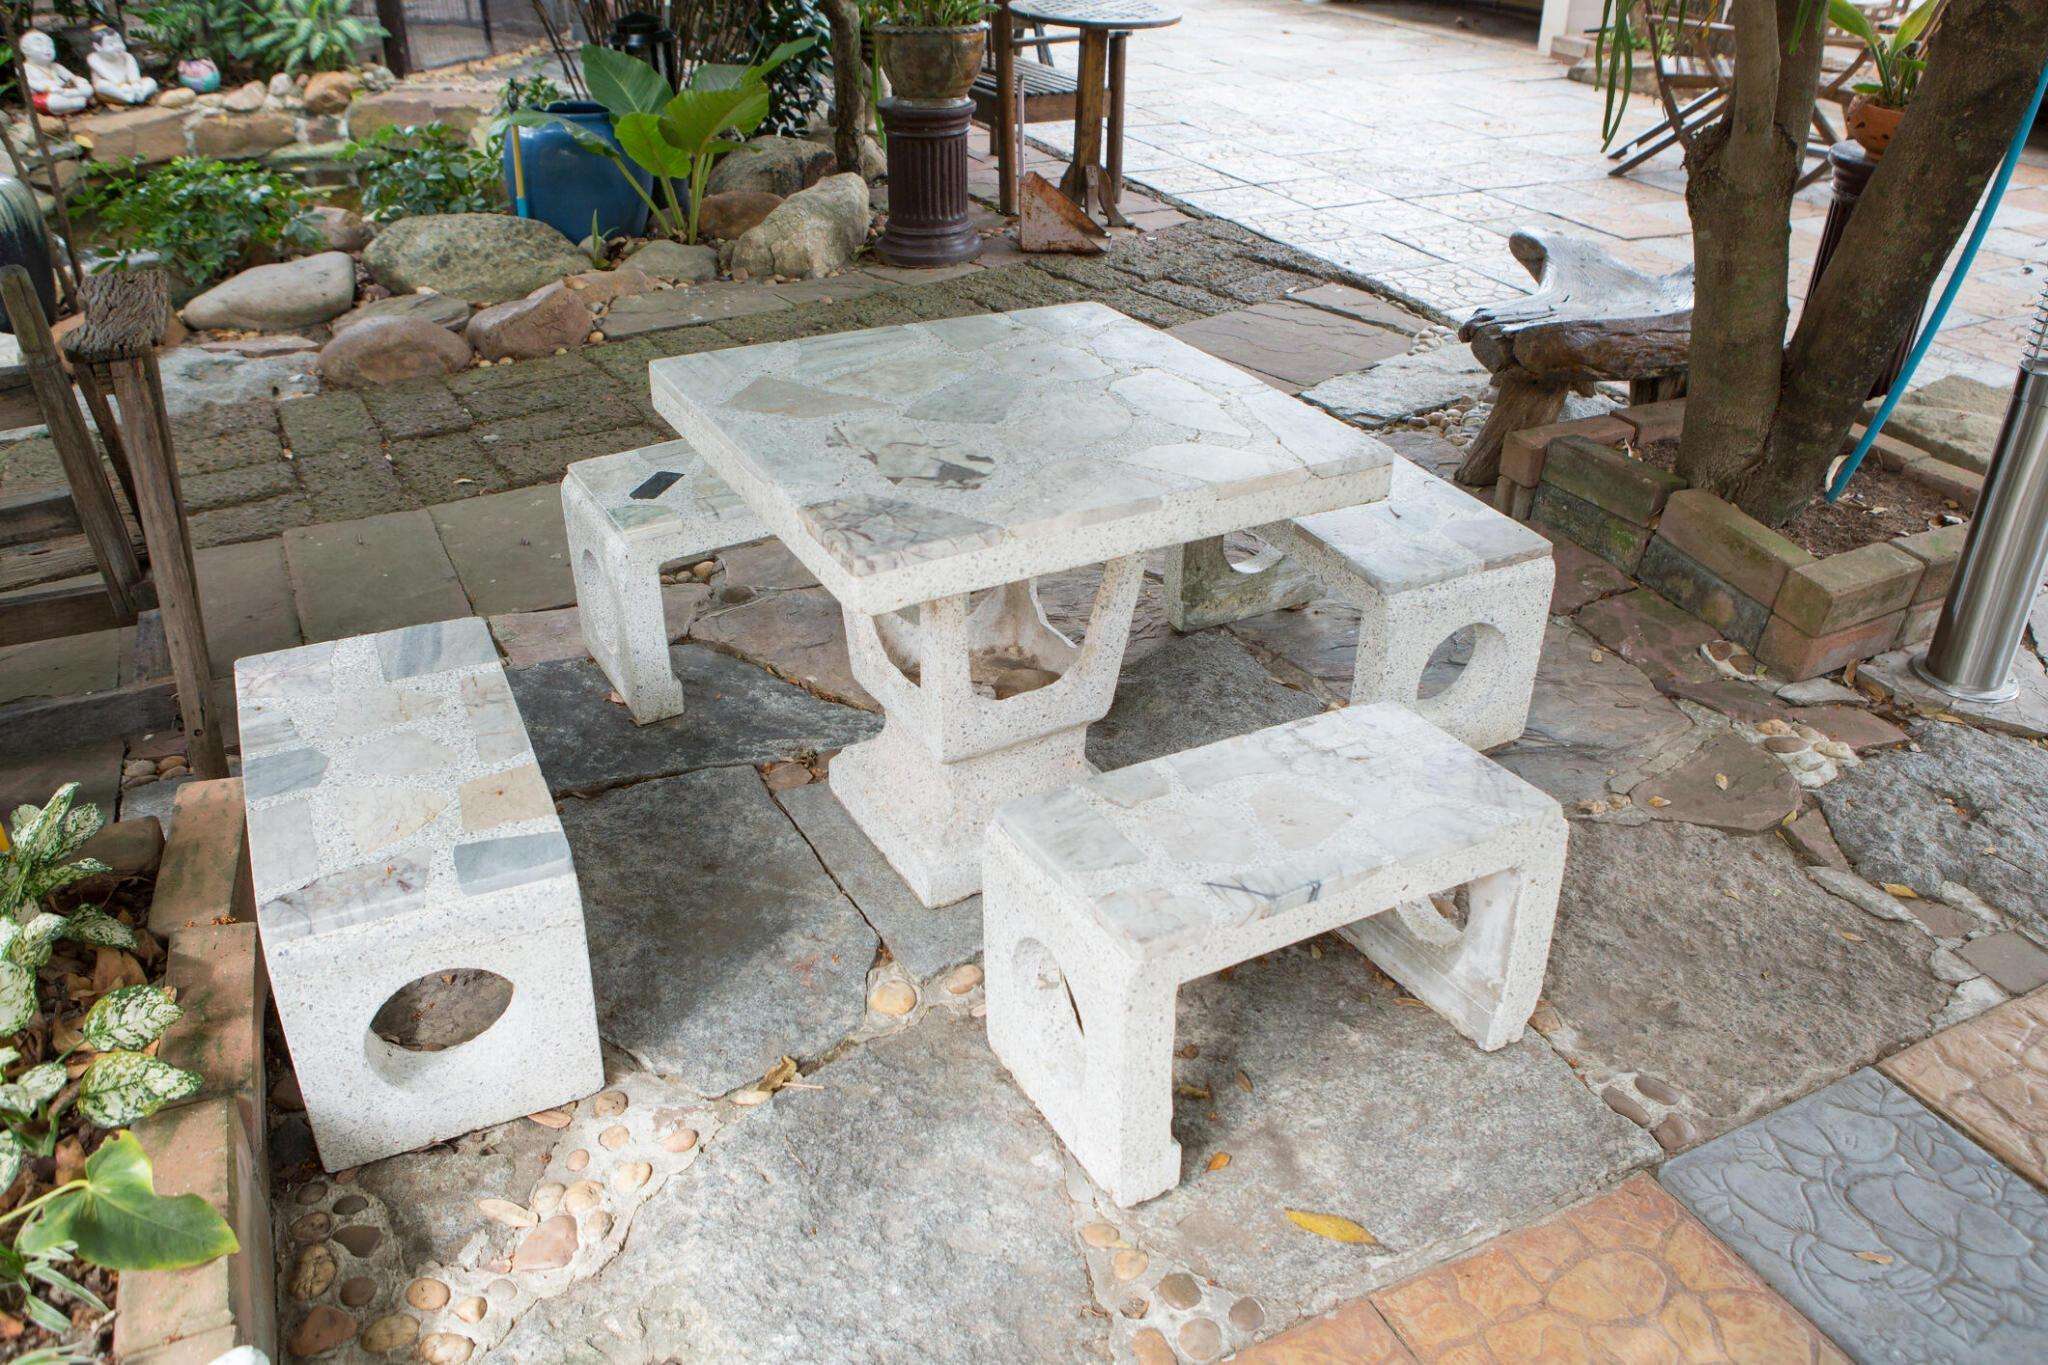
Create an eye-catching coffee table for your outdoor space by making it yourself from concrete. This project adds a touch of modern elegance and is perfect for unwinding.
Here's what you'll need to gather:
- Cedar boards (2x4s)
- Melamine sheet (3/4 inch thick)
- Wire mesh
- Concrete mix
- Outdoor sealant
- Rubber feet
- Silicone caulk
Step-by-Step Guide:
- Building a Beautiful Base: Craft the cedar base by cutting and assembling the cedar pieces using pocket hole joinery. Apply a weatherproof finish to protect it from the elements.
- Creating the Concrete Mold: Construct a box mold from the melamine sheet around your base. For added stability, reinforce with wire mesh and seal seams with silicone caulk.
- Mixing and Pouring the Concrete: Following the manufacturer's instructions, mix and pour concrete into the mold, maintaining a consistent thickness of 1 inch. Smooth the surface and tap the sides to eliminate any air bubbles trapped within the concrete.
- Curing and Finishing Touches: Allow the concrete to heal completely. Once cured, remove the mold and sand the top for a smooth finish. Fill any air pockets that may have formed during curing, then file again to achieve a flawless surface. Finally, seal the concrete for added protection against the outdoor elements.
- Assembly and Enjoyment: Attach rubber feet to the base for stability and secure the concrete top with silicone caulk.
Now, sit back, relax, and enjoy your unique creation indoors or outdoors under the stars!
5. Concrete Coasters
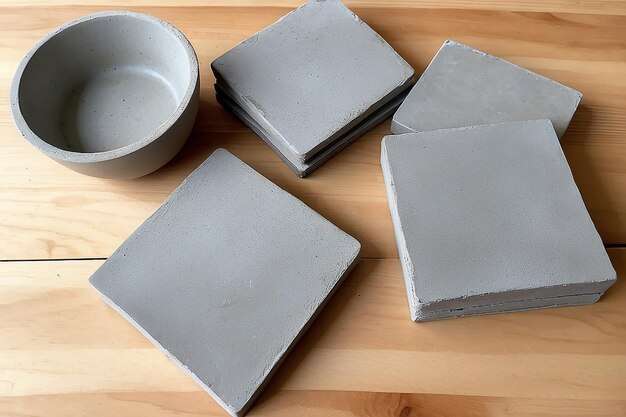
Hand-crafted concrete coasters add a touch of modern elegance to your living space. This fun, easy, and functional DIY project is perfect for creating a unique set for yourself or as thoughtful gifts.
Here's what you'll need:
- Rapid Set Cement All (white)
- Disposable cups and gloves
- Water
- Stir stick
- Round cookie cutter (3.5 inches)
- Leaf (optional for imprint)
- Wax paper
- Sandpaper
- Paint (optional)
- Sealer (optional)
- Felt circles (optional)
Step-by-Step Guide:
- Prepare for a Speedy Pour: Since Rapid Set Cement All dries quickly (around 30 seconds), be prepared to work fast.
- Mark a ¼-inch fill line on your cookie cutter for consistent results. Line your workspace with wax paper to protect your surface.
- You may place a leaf face-up between the wax paper and cookie cutter to add a natural touch.
- Mixing and Pouring: Combine water and Cement until the mixture reaches a thick, milkshake-like consistency. For faster creation, consider using multiple cookie cutters at once. Pour the mixture into the cookie cutter, following your marked fill line.
- Demolding and Smoothing: Once the concrete cures completely (approximately one hour), gently remove the coaster and leaf (if used) from the mold. Use sandpaper to smooth the back and edges of your coasters for a polished look.
- Personalize Your Set (Optional): Get creative and personalize your coasters with paint! If you used a leaf imprint, use black paint first to highlight the design. Then, add a contrasting lighter color on top for a pop.
- Protect and Enjoy (Optional): For extra protection and a non-slip surface, glue felt circles to the back of your coasters. To shield them from moisture and everyday wear, apply a coat of sealer on both sides.
Now, you have a beautiful set of handmade concrete coasters to spruce up your coffee table or impress your friends with a thoughtful gift!
Final Words
The UAE's DIY and Hardware Stores market is booming, reaching a whopping US$8.57 billion in 2024! Creative and enthusiastic individuals like you fuel this growth. So, keep that creativity flowing, and let's build something extraordinary with Fepy.
FEPY is an is an e-commerce site that provides materials and tools for any project, big or small. Now, you have everything you need to transform your house into a beautiful and functional home right at your fingertips. So, let's get creative!